Tuesday, July 31, 2012

Aspen with Color!

Ya know, I get out there in that workshop and the time just melts, almost like it doesn't exist. I'll be doing stuff and the next thing you know 1/2 a day has gone past.

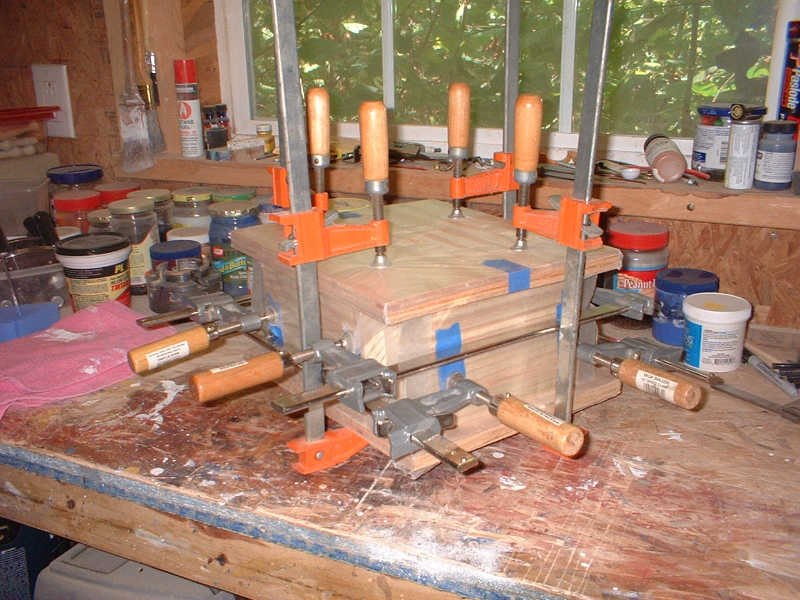
That's what happened with the Aspen Bowl. I forgot to take pictures between the last time I posted it and now. As you can see it looks different.


Some Wood Spirits got into the workshop overnight and went hog wild with the color spectrum. I was going to make this bowl very similar to the Twilight Dream bowl that was purchased earlier this month on the Brown County Shops website. But then my wife suggested that I try to achieve a SeaFoam color instead. 

I wasn't sure what seafoam looked like so I looked it up and it seems to be variations of light green, depending. 

Here in Ruralville you can't just jump in your ride and zip down to the corner paint store and pick up what you need because the corner paint store is a couple hour round trip so I had to improvise.


I started with some dark blue water soluble wood dye from Klingspor's and I diluted it greatly with water.

Then I added some yellow latex paint with turned it green. 

Then I added some silver glaze and some soldier blue paint and shook it well. Violin! This is what it ended up as.


I liberally applied the home made concoction with a brush after I covered the lathe bed ways with a newspaper and let it dry for a few hours. 

The dye raised the grain so I lightly sanded the whole thing with 120-400 grit Abranet. Wiped it down with a dry cloth and applied another coat of the dye. I let that dry and lightly sanded again and wiped it down. 

Then I applied 2 coats of spray polyurethane with light scuffing with 0000 steel wool after each coat. Then I applied 4 coats of regular gloss poly with a Purdy brush. 

I'll give it a couple more coats of poly with light sanding in between and then the real fun begins.....


Spalted Hickory

This is another piece of the Spalted Hickory that I have mentioned before. It is from a tree that blew down in our yard during a storm several years ago. Stacking it outside the workshop has exposed it to the elements over the years and the spalting fungus has set in creating all kinds of neat colorations and patterns. It is my favorite type of wood though it is difficult to deal with at times.


I have turned it to it's rough shape and applied a stout coat of MinWax Wood Hardener.
A wood hardener must be used because the spalting process weakens the wood so that it is structurally unsound and can fly apart at any second. This is why I apply the hardener BEFORE I cut the inside out of the bowl which would necessarily cause the bowl walls to become unstable.


The Minwax adds a certain amount of yellowing to the color of the wood so I am going to search for another material to use that may not do that. I like the coloration of the natural spalting process and would like to try to maintain that look.


In the above picture you can see that the heartwood, the center of the log, has not been affected by the spalting process and it is very hard, where as the outer spalted layer is very soft.


After the interior has been carved away I will apply another coat of the Minwax Hardener to the inside to further stabilize the whole thing. Now, because spalted wood is very unstable it is possible the whole thing will explode unexpectedly at some point and you will never see it again. But supposing that doesn't happen (think positive) I will post some more info and pictures on this bowl in the next day or two. It too will be available for purchase at the Brown County Shops website.


Sunday, July 29, 2012

Aspen Bowl II

It is now far enough along to consider it a bowl, at least in general shape.
I cut the blank into a cylinder on the band saw last night and mounted it on the lathe and started turning it.
As you can see the rough turning generates lots of shavings.


First I turned the outside to the general shape I want with the tailstock firmly in place. The tailstock helps stabilze the blank at this stage until some of the bulk and weight is removed.


I also started turning the interior, trying to remove as much of the bulk as possible before I remove the tailstock.


I've went as far as I safely can with the tailstock in place and removed it this morning. Today I will remove the interior and try to make the walls of the bowl about 1/4" thick. But first I have to clean this place up a little so that I can see what I am doing. With this drought still going on the wood shavings and scraps are growing at an alarming rate and I cannot burn it because of how dry everything is. We NEED some rain, about 5 days of continuous downpour will do nicely, to start.


OK, I cleaned up a little and will start turning more of the inside in a little bit and may post more pictures later today. 
Of course when this bowl is completed it will be available for purchase over at the Brown County Shops website.
Stay tuned. Same Bat time, same bat channel.  


Saturday, July 28, 2012

Aspen Un-Bowl Part Deux

I pulled the clamps off of the Aspen glue-up this morning, drew corner to corner lines to find the center on each end, then using a compass I made the biggest circle that would fit, about 7-5/6" diameter.


Next, I used a drafting circle template to draw a 3" circle in the middle of one end, this is where I will glue the sacrificial wood face plate which will be 3" in dia x 1-1/2" wide. I use TiteBond Original (Red) wood glue.


The sacrificial pine wood face plate is what I will screw the steel face plate to for mounting to the lathe.
I do this so there will be no screw holes in the bottom of the bowl. When the bowl has been carved, sanded and finished I will then reverse it on the lathe using the larger jaws on the chuck and carve the sacrificial face plate off and sand and finish the bottom. I'll post a picture or 3 of this process.


To the left of the glue up above you can see the 4 jaw chuck for my lathe. The black metal object just to the left of the green paint jar. It's a Penn State model, nothing fancy, that uses 2 Tommy bars for tightening and loosening. As it sits currently it has the 3" interchangeable jaws installed on it. I have various other jaws and holding nubs for it and use it extensively. Because I do use it so much I really need to get a 2nd one.


Friday, July 27, 2012

Aspen Un-Bowl

This is the glue up of one of the Aspen wood blanks mentioned in the Un-Bowls post, below.
6 pieces of wood about 7-1/4" square x 3/4" thick.
Each piece was sanded on all 6 sides with 120 grit and grain oriented, stacked and glued and then clamped with 4 side cauls on wax paper covered clamping boards.


The whole thing weighs about 35 lbs as you see it.
This will sit until tomorrow afternoon then I'll pull the clamps off and go to the next step.


Spalted Hickory Pedestal

I like the look of spalted wood and in this case it is Hickory from a tree in our front yard that blew down in a storm about 4 or 5 years ago.

I cut the trunk and limbs into manageable pieces and stacked them on the south side of the workshop and every now and then I'll grab a piece of it to experiment with.


This was a small piece of the Hickory, about 8" long x about 5" in diameter.
After the bark was removed and it was turned to a consistent cylinder on the lathe it measured about 7" long x 4" in diameter.


I drew the profile up for this pedestal in AutoCAD and then measured and marked the cylinder for turning.


Because the Hickory is heavily spalted, after I turned the wood to a cylinder I then coated it with Minwax Wood Hardener and let it dry for 24 hours.


When I finished turning the pedestal I again coated it with the hardener.


Spalted wood is especially challenging to work with but well worth it in my opinion.


This picture shows an Aspen bowl sitting on top of the Hickory pedestal.


Saturday, July 21, 2012

Un-Bowls

Or should I say, "not yet bowls - but soon to be"?

A = Aspen 3/4"x7 1/4"
B = Mahogany 3/4"x7-1/4"
C = Poplar 3/4"x5-5/8"

These started out as 48" long sticks purchased from Menards and I cut them to proper lengths on the table saw. Next, I will sand all of the pieces and then glue and clamp them together. If I can remember, I will post a picture of them at that stage, and additional stages as the process continues.

Eventually these bowls will be available for purchase at the Brown County Shops website.


Friday, July 20, 2012

Few More

Here are some more bowls I made. The first is all Hickory and a very hard wood to work with, which is good, I prefer hard woods. It was laminated (glued) from 3/4"x8" stock, clamped, cut into a cylinder and then turned on the lathe. Has an interesting grain pattern on the side and visible on the inside as well. It is available for purchase at Brown County Shops.


Next up is the bowl I named "Flash". It is made from Pine and has the metalic celestial finish on the inside. On the outside it has a dark stain on the edge and a clear finish on the remainder and 7 wire burns. It too is available at Brown County Shops.


Last up is "Zebra", glued up from Aspen and Mahogany with a slightly unusual shape.
It too has my legenday 20 coat high gloss polyurethane finish and is available at Brown County Shops.


Thursday, July 5, 2012

Twilight Dream

I call this bowl "Twilight Dream" and it is Aspen Hardwood with the Centrifugal Metallic Celestial finish I created.

It has blues and metallic silvers colors.

This bowl is available for purchase at the Brown County Shops website.


Tahitian Sunrise


You saw this last December 17th when it was just glued up walnut and maple but now it is finished and has been for some time.


This bowl has what I call a Centrifugal Metallic Celestial Finish consisting of multiple tones of gold.


Then it received 20 coats of gloss polyurethane and each coat was sanded to 12,000 grit.


It was then burnished with Howard's Burnishing Cream and polished with Old English.


This bowl is available for purchase on the Brown County Shops website.